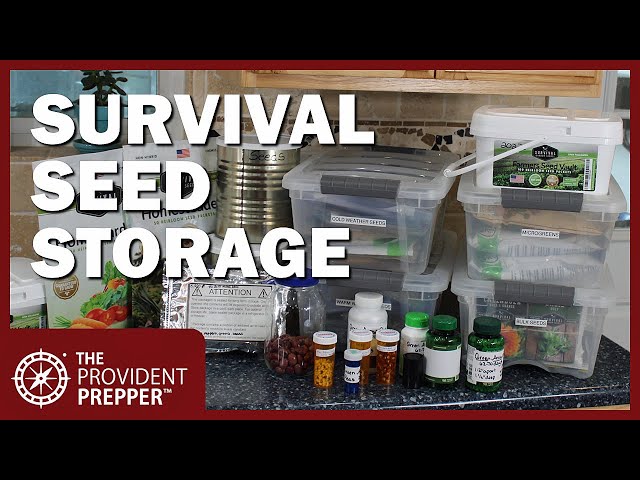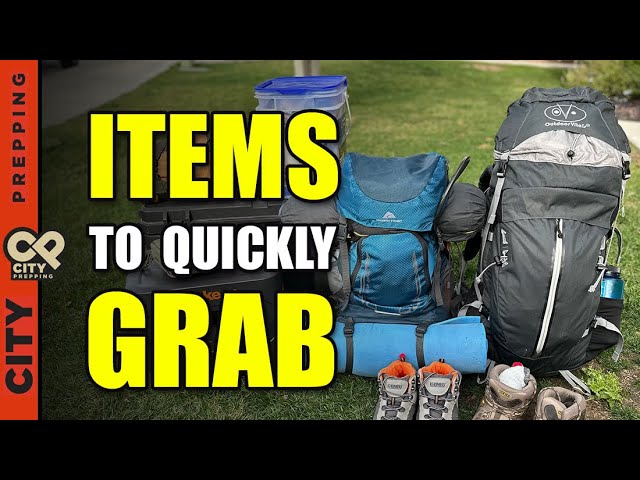
In the days before the internet, people were often ridiculed for preparing for a disaster. People who had something like a survival food kit labeled them “preppers,” because it’s somehow negative. Preppers used to be mocked and labeled “conspiracy theorists” for their preparations for every possible problem that life might deliver. However, since the epidemic, hackers have been shutting down gas pipelines and meat companies, increasing food costs, natural disasters, and concerns of war. People are beginning to think that they should at least keep a survival food kit on hand because of these events.
Building a survival food kit may appear daunting to some. What should I include in the kit to get the greatest nutrition? How long will the food stay fresh? How should I keep the kit after I’ve finished setting it up? These are just some of the questions you may be asking yourself, and the reason this is so is because you’re used to just buying what you like to eat and only as much as needed for the next week or so each time you go to the grocery store. If you take the process one step at a time, preparing a survival food kit does not have to be overly time-consuming.
Step 1 – Determine the goal of your survival food kit.
You’ll need to ask yourself some questions in order to figure out the primary purpose of your food kit first and foremost. Is the food kit for emergencies or special circumstances when you’re confined to home, such as health problems that restrict your mobility? Or is it for situations where you’ll need to grab the food kit, get in your car, and go? Is the kit going to be portable enough to go with you when you’re on the road away from home? Will you be expected to feed yourself and your family for a few days, weeks, or even months?
Step 2 – Determining the storage location for your survival food kit is a key component of your preparedness plan.
You’ll need to decide on the goal of your food kit after you’ve decided on the purpose for it. Where will you store your food? If you want to store food for an extended period, be sure to plan ahead. You’ll need to keep in mind how long the food will last so that you can choose your storage space options accordingly. Obviously, your automobile has a limited amount of space, so storing food for six months isn’t particularly practical or necessary.
The storage place for your survival food kit might have a significant impact on the shelf life or longevity of the food in your kit. To keep your food fresh for the longest amount of time, keep it cool and dry in a dark, indirect place away from direct sunlight. Consideration should be given to the location of your food rations and kits, as well as the amount of space required for them.
Step 3 – Purchase or gather food for your survival food kit.
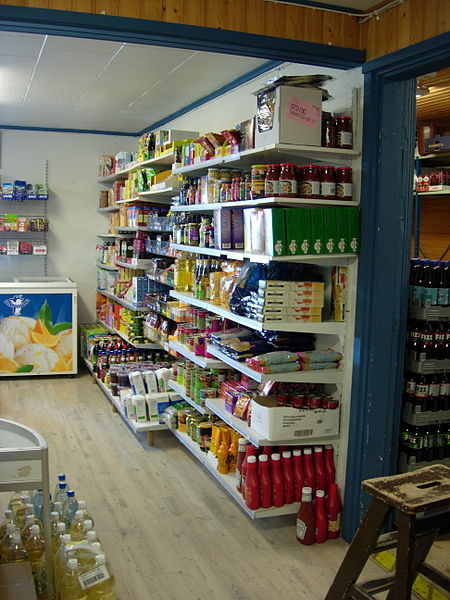
As a rule of thumb, keep in mind that you’ll want to store food that you already eat. For example, if you and your family don’t like to eat tuna fish, it’s pointless to keep a huge pile of cans on hand. Even if you have the financial means to acquire long-term freeze-dried storable foods, you should select meals that may be prepared using basic ingredients. Stick to foods you like, but balance your food with a healthy addition in the process.
However, there are certain meals that simply can’t be kept for extended periods of time. Fat or wet foods generally don’t keep well. Pastas, (white) rice, flour, sugar, and oatmeal can all be kept for a long time if they’re kept in the appropriate sealed containers under the recommended storage conditions. Canned food, on the other hand, has a fairly lengthy shelf life and is less weighty. However, if you want to keep things like dried beans for longer or buy in bulk, canned beans are a good choice.
Powdered alternatives for foods like milk, eggs, butter, and even peanut butter are available. Powdered, dehydrated meals are never precisely equivalent to their fresh counterparts, even after reconstitution, however they may still be quite tasty in many dishes.
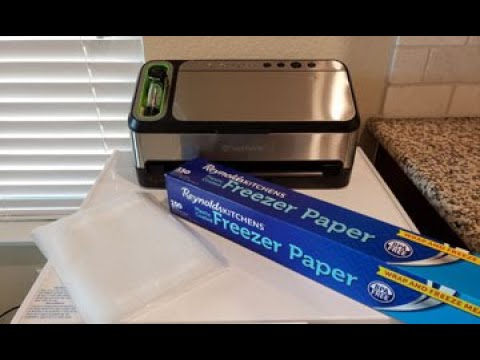
Step 4 – If necessary, repackage food items for longer storage.
Many foods, when repackaged, can extend their shelf life. All of your dry food items will keep for a long time if they’re stored in a simple sealed container, but adding oxygen absorbers and/or desiccant packs to the mix helps to prevent them from getting damp. After that, you can vacuum-seal the mylar bags to ensure the greatest degree of protection for the contents of your kit. The above-mentioned food items can all be found in long-term freeze-dried storable form, so no further packaging is usually required.
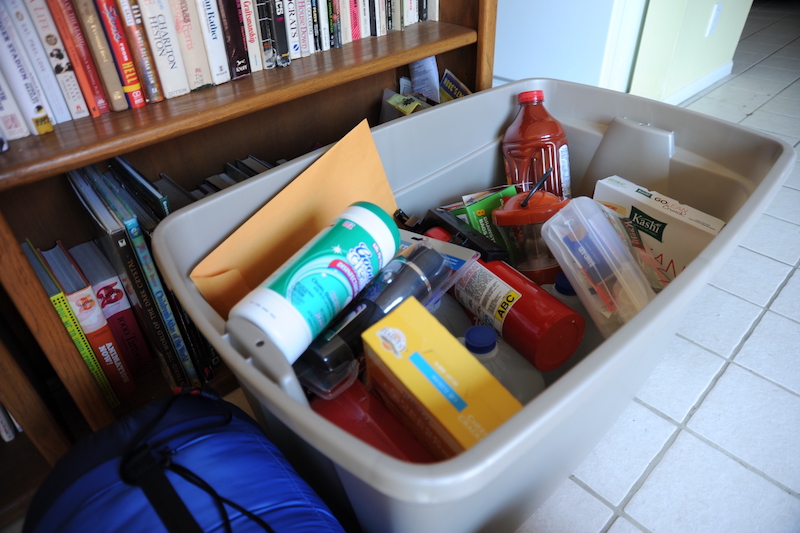
Step 5 – Have snacks other than the meals you’ve been preparing in your survival food kit.
One of the most crucial aspects of your survival food kit is to replace outdated food with fresh resupply as soon as possible. The simplest method to do so is simply eat food from your kit on a regular basis and replace it. Again, this is why you should only include things in your survival kit that you and your family will eat.
To guarantee correct rotation, eat the food items in the kit that are oldest first. You may be drawn to a certain product in the kit based on what you’re “in the mood” for, but you should avoid this and select the item(s) that are closest to their end-of-life first.
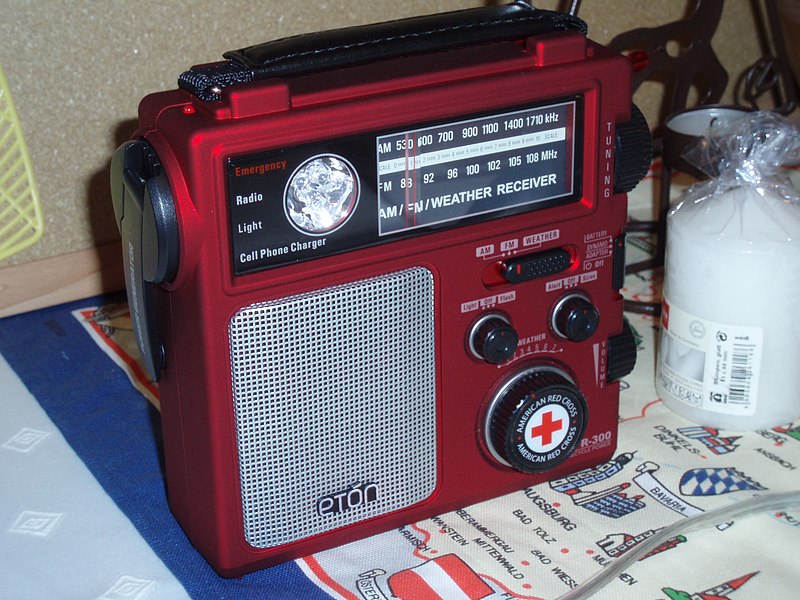
In addition to the above items, you may want to include things like can openers, spice or seasoning packs, fire starters and cookware, and so on as a bonus suggestion. Having these items on hand can help you save time, and it can make managing whatever emergency or calamity that called for the use of your food kit less stressful.